We are approaching an exciting milestone in the construction of the house. With the structural phase nearly complete, the crew will soon transition into the finishing stage. At that point, the focus shifts from framing and concrete block to advancing each area toward its final specification. Sanding and painting, laying ceramic floors and wall tile, building cabinetry and closets, and installing fixtures and appliances are all on the near horizon.
As this transition nears, many elements have already reached their rough-in stage and now wait to receive their final touches. In this post, I want to capture what these components look like before they disappear beneath the finishing work. Electrical and internet cabling, water lines, templating the stairs, and most recently, the installation of the drywall ceiling have all been completed or are nearing completion. With that, let’s take a look at each of these items, starting with the ever-familiar enlucido.
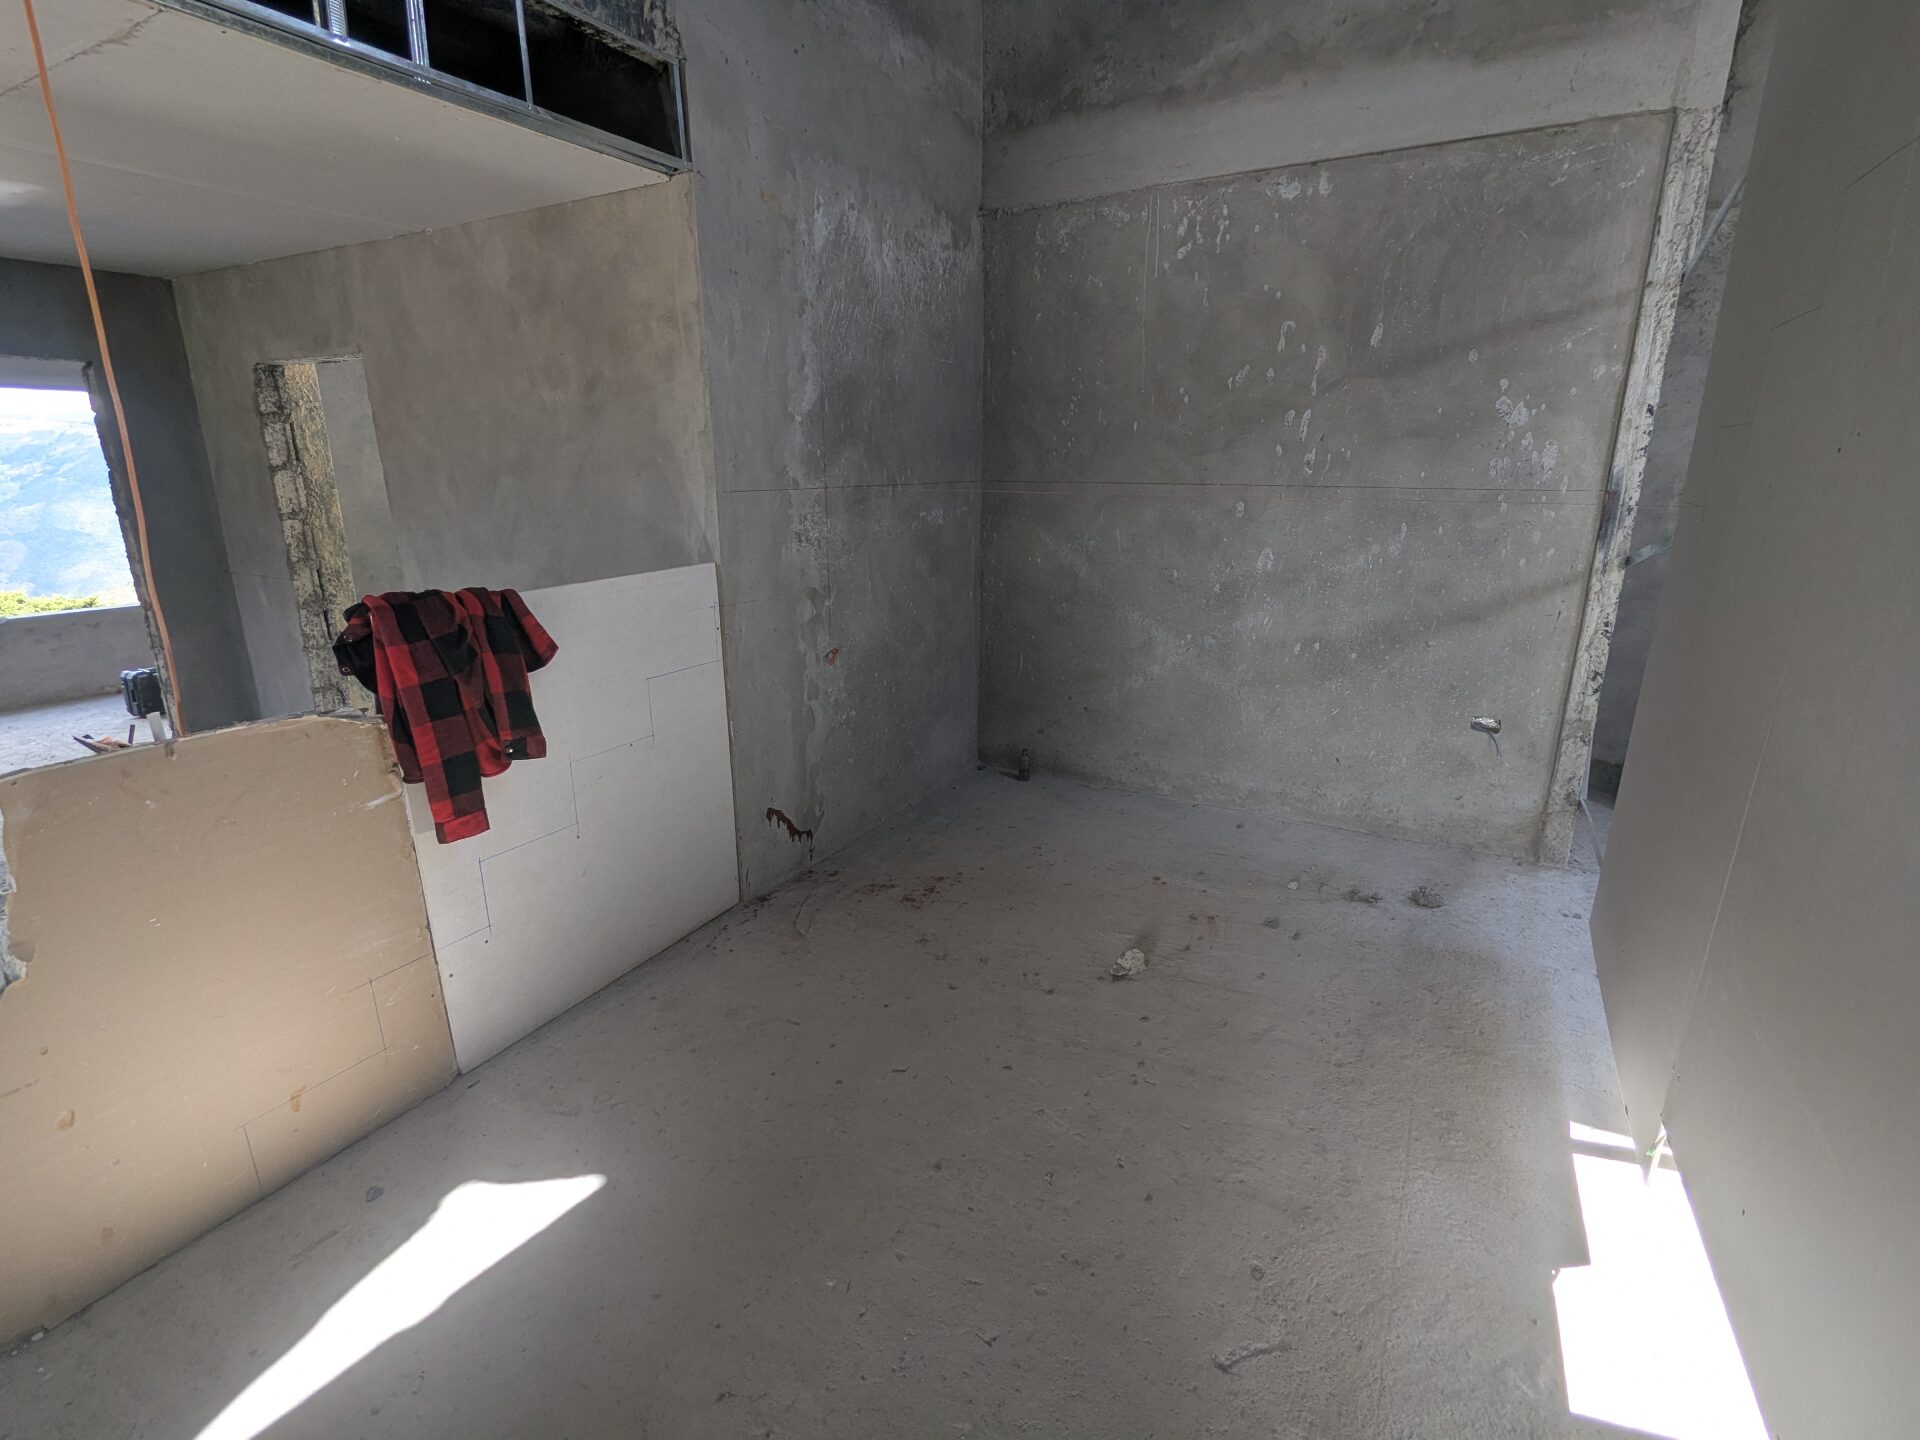
While the finishing work on enlucido involves sanding, priming, and painting, the current task is to install clean edges along every corner, window, and doorway of the house. This is achieved with a simple jig made from straight metal tubing and a bit of bent rebar.
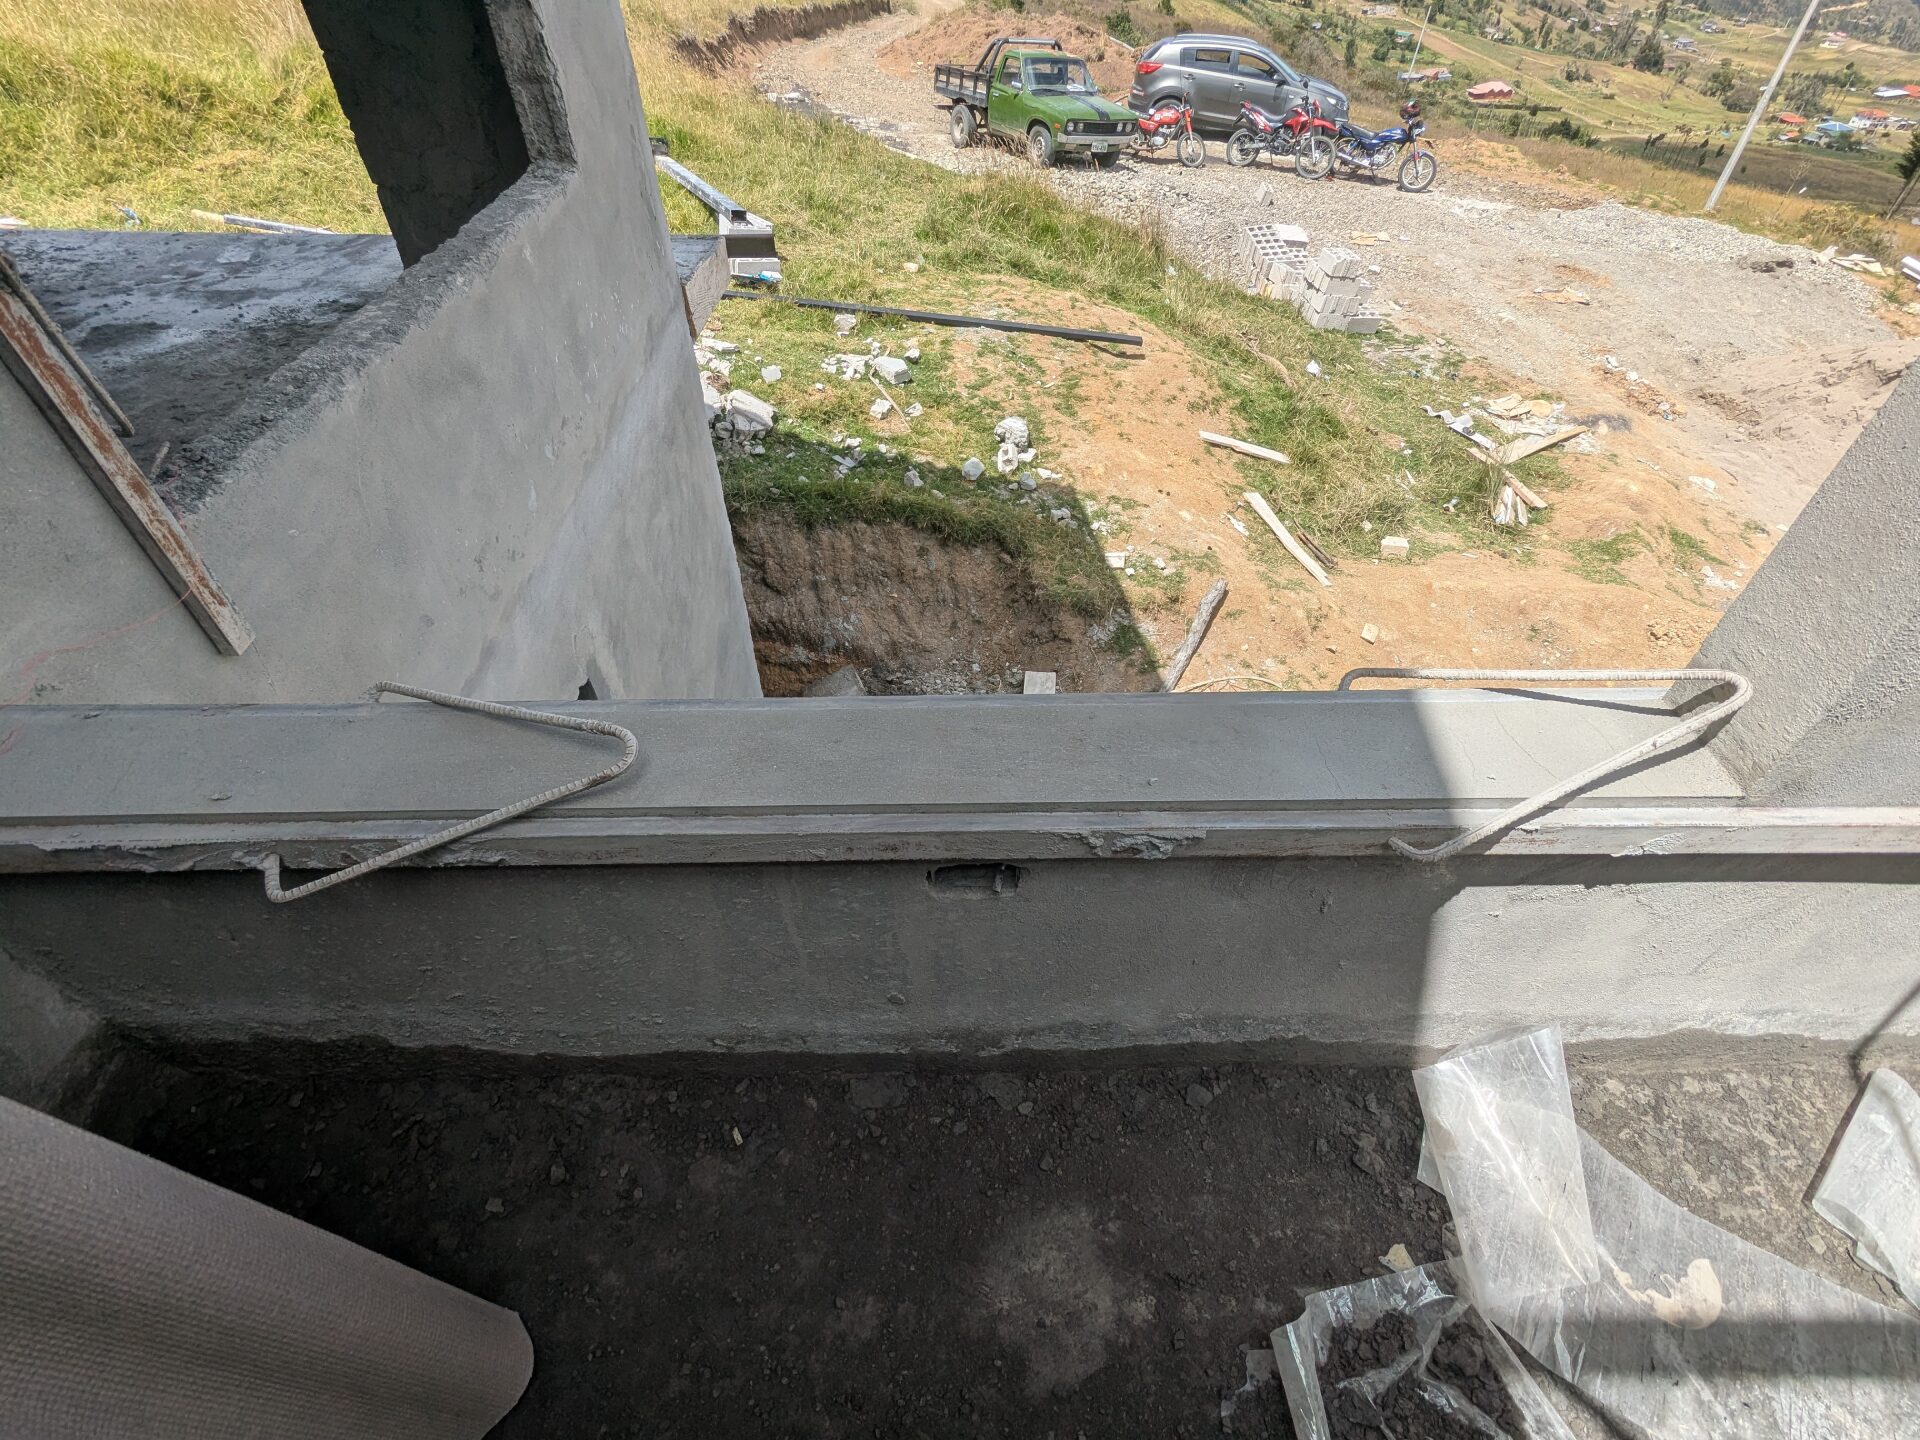
The jig provides a reliable straightedge, allowing workers to shape the enlucido into clean, precise 90‑degree angles. In the photo above, the difference is illustrated pretty well. One window sill has already been sharpened with the jig, while another awaits this crucial step. Since enlucido covers nearly every wall inside and outside the home, ongoing touch‑ups are inevitable. As construction progresses, the crew will revisit the enlucido to repair minor bumps and nicks to maintain a clean, finished surface throughout the house.
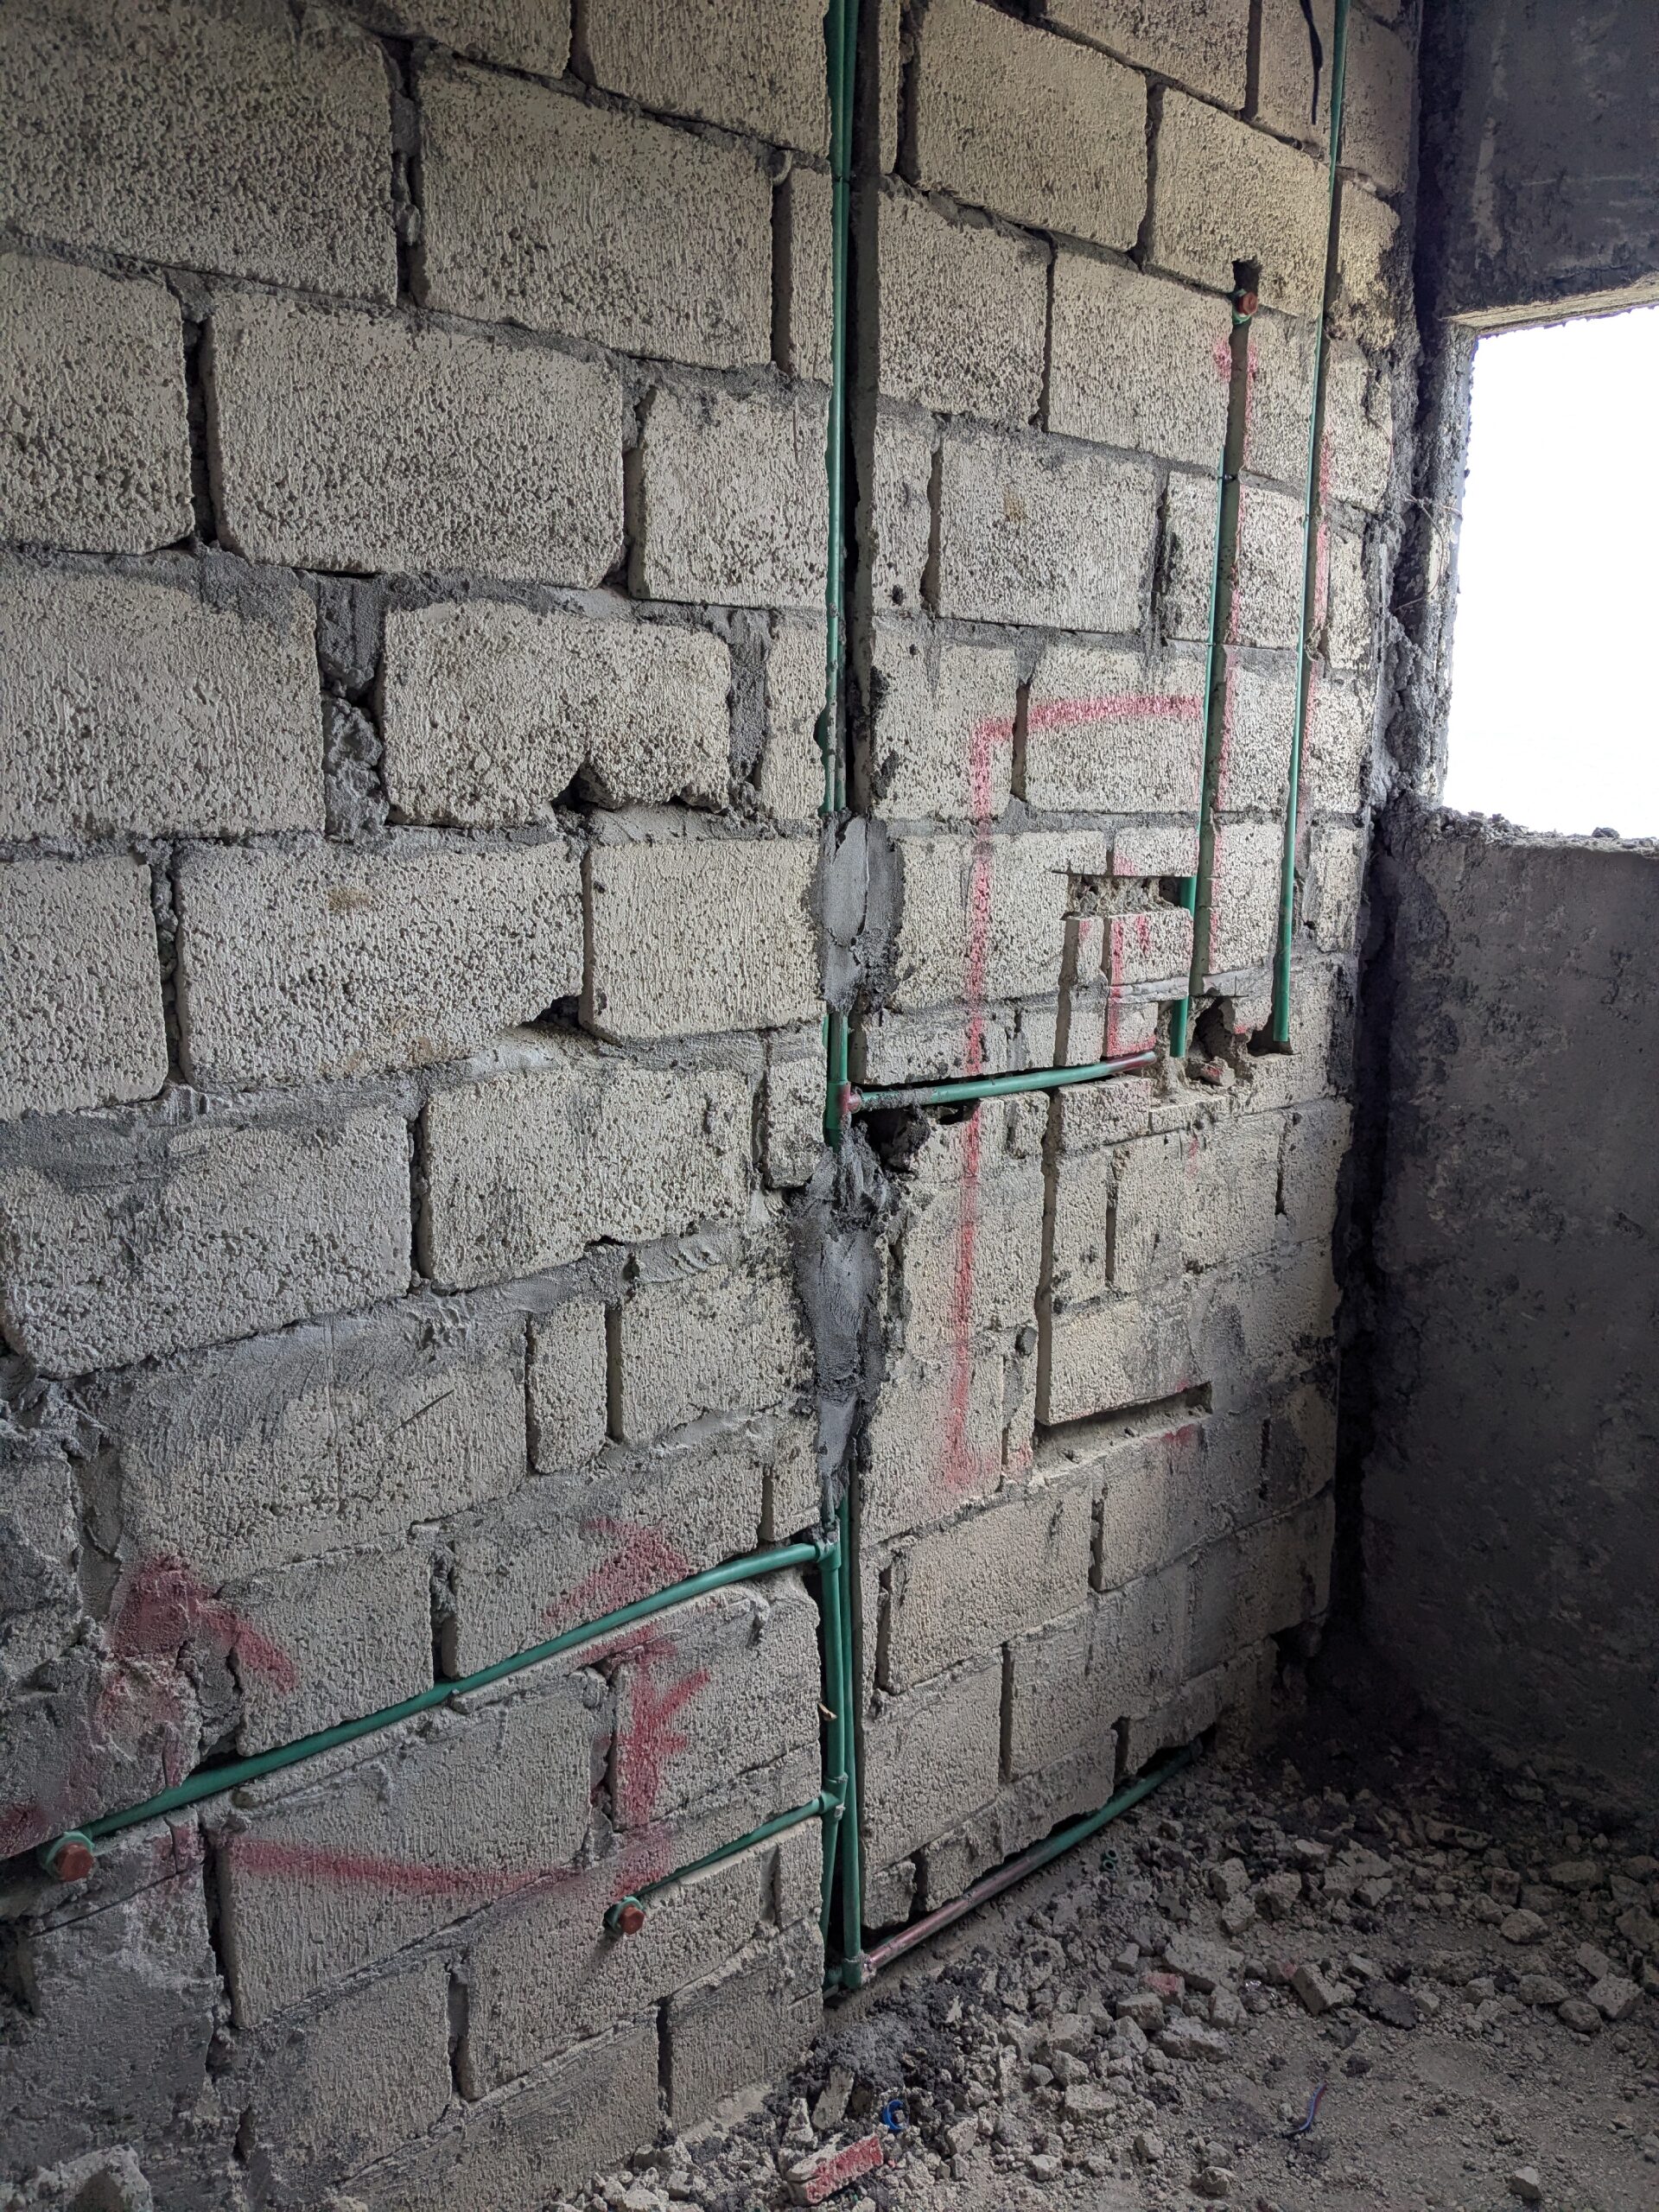
All of the interior water lines are now complete. The system uses 20 mm (0.78 in) PPR tubing with an internal diameter of about 14 mm (0.55 in), joined by heat‑fusion connections for durability. In total, the inside of the house contains 21 cold‑water outlets and 14 hot‑water outlets. To balance demand, the hot‑water lines are divided between two tankless heaters, one serving the kitchen, laundry, and guest bathrooms, and the other dedicated to the bathrooms of the family. The tubing runs through narrow channels cut into the concrete block walls, which will be secured and concealed beneath a layer of enlucido.
The electrician has now completed all of the electrical and internet wiring. For the moment, we’ve chosen to wire the house exclusively with 3‑wire 110v. Appliances that typically require 220v have been replaced with gas alternatives, meaning the ovens, range, and clothes dryer only need 110v, while the tankless water heaters require no electrical connection at all. Since 220v service is still relatively scarce in Ecuador, we’ve grown accustomed to gas appliances in our rental homes. And, in practice, we’ve found them far more functional than their electric counterparts.
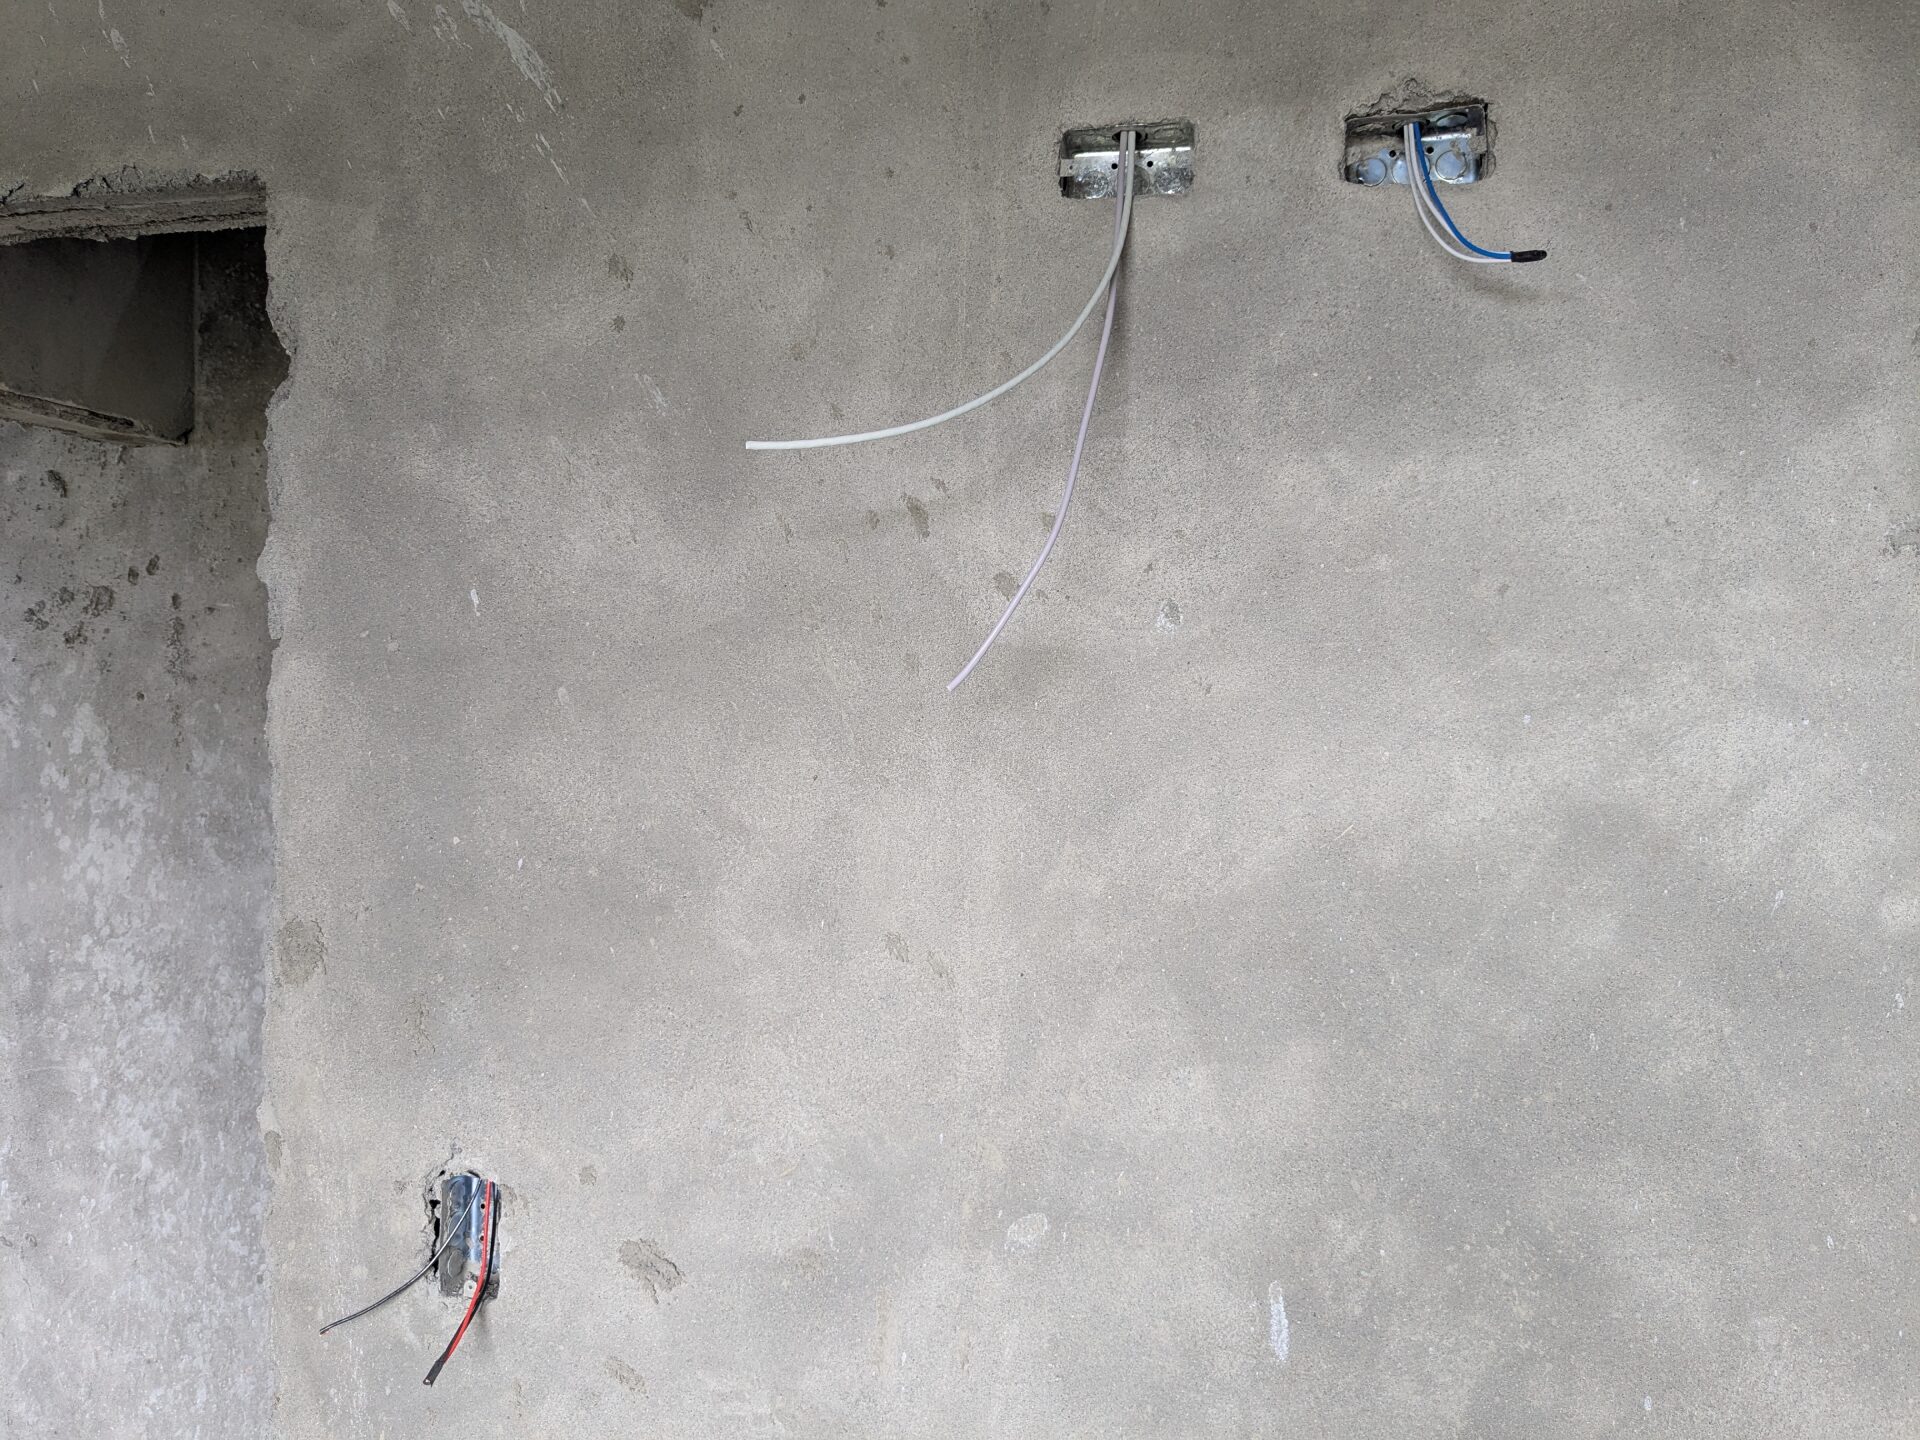
In total, the house contains around 70 electrical outlets, with wiring extended to every light switch and numerous junction boxes to support both interior and exterior lighting. The electrician also installed Cat6 networking lines: 18 points in all, each double‑run for redundancy, ensuring reliable hardwired connections for computers, security cameras, TVs, and wireless access points. The photo below shows a typical run, combining a 110v power line with the double‑run of networking cable. This particular setup is positioned higher on the wall to serve a wall‑mounted TV.
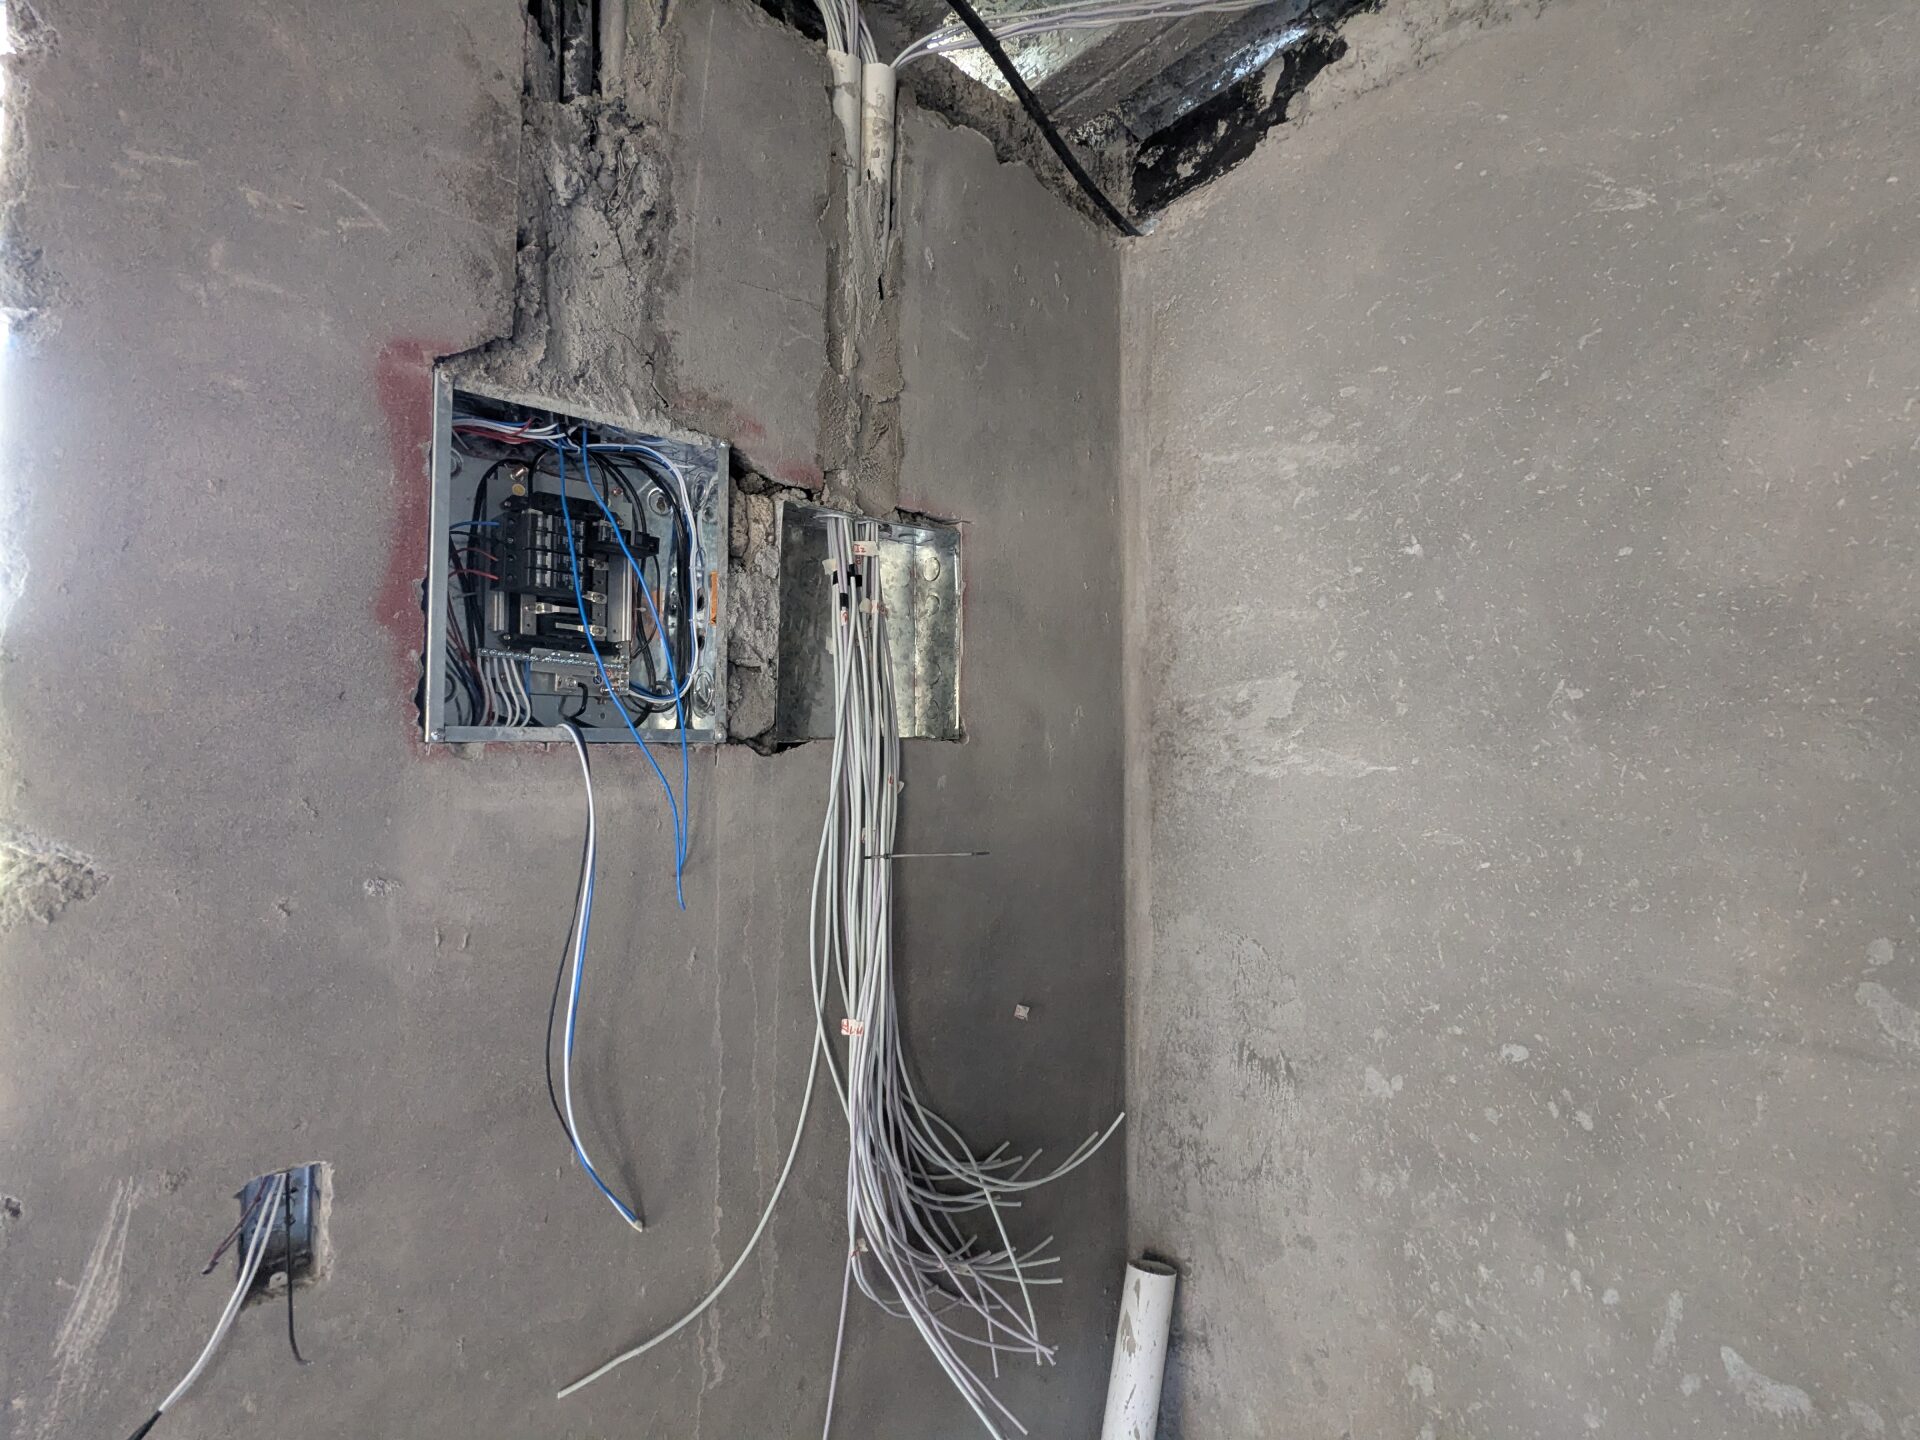
All of the power and networking lines converge here, in the foyer closet. The electrician has installed a standard electrical panel alongside a distribution box for the network cabling. Once the walls are fully finished, a server enclosure will be installed beneath the panels to house the equipment that supports the entire network. That equipment has already arrived, and I’m looking forward to sharing a future post about the installation process.
Now, a quick update on the stairs. I’ll save the full explanation of materials and design for when they’re installed, but for now I wanted to capture the very first step of the process. The carpenter has used sheets of drywall to map out the layout, and if you look closely at the back wall, you’ll notice a string line and marking at the level of the intermediate landing. That landing will guide the change in direction as the stairs rise to the second story. With a bit of luck, the installation of these stairs will be completed by year’s end.
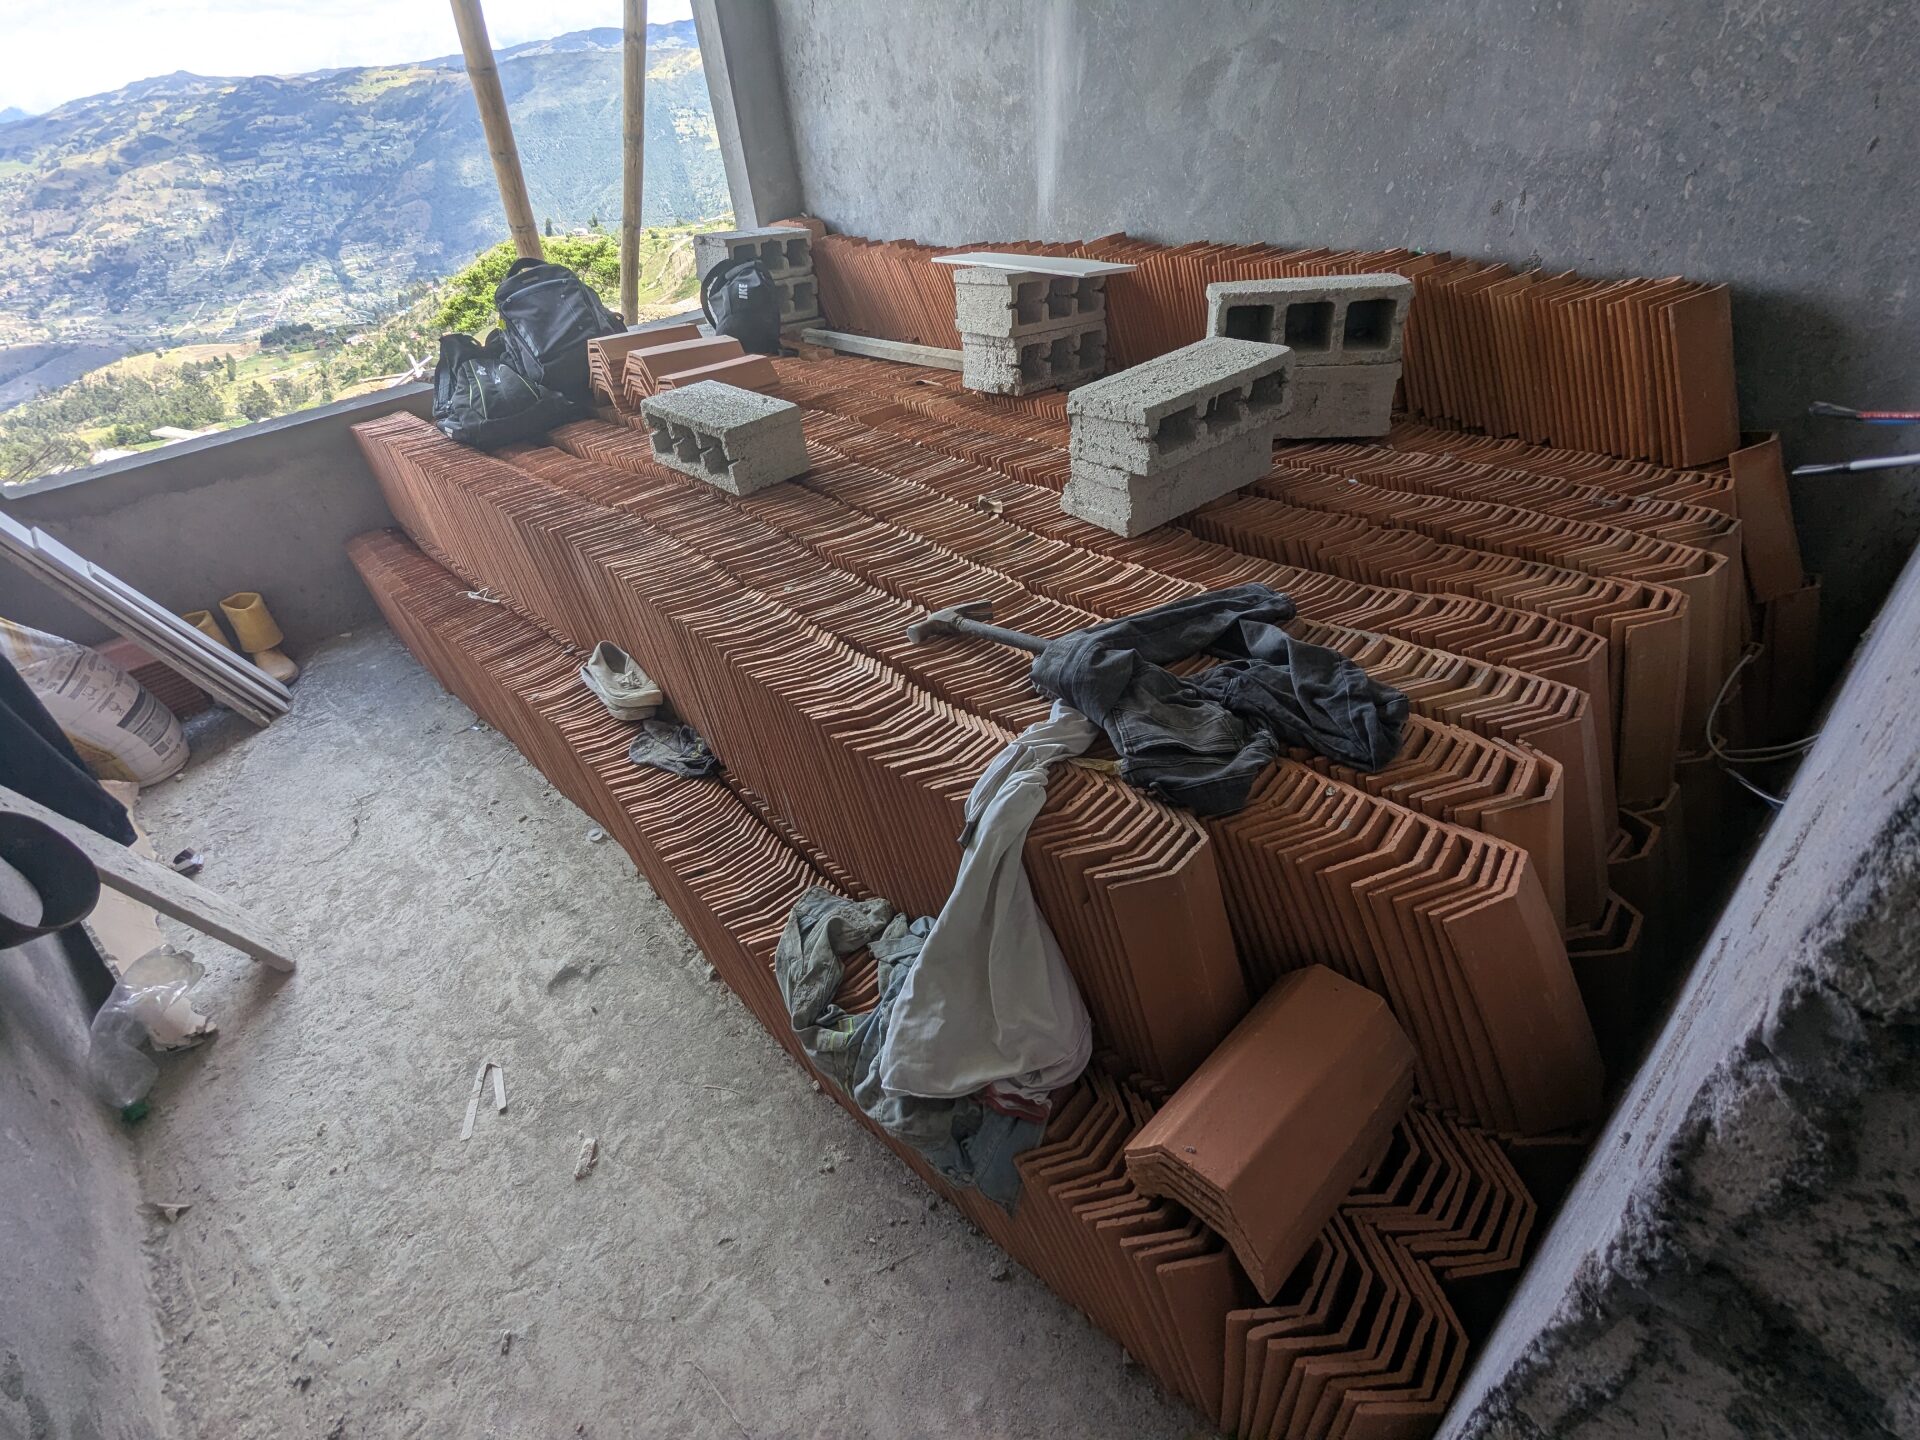
The roofing tiles are here! All 4700 of them. As they only serve a decorative purpose it will probably be some time still before they are installed. But, when that time comes, they will form a distinctive design feature of the house; something Andrea and I have only ever seen on one other home in Ecuador. Stay tuned for that update. For now, the tiles are safely stored in my mom’s bedroom.
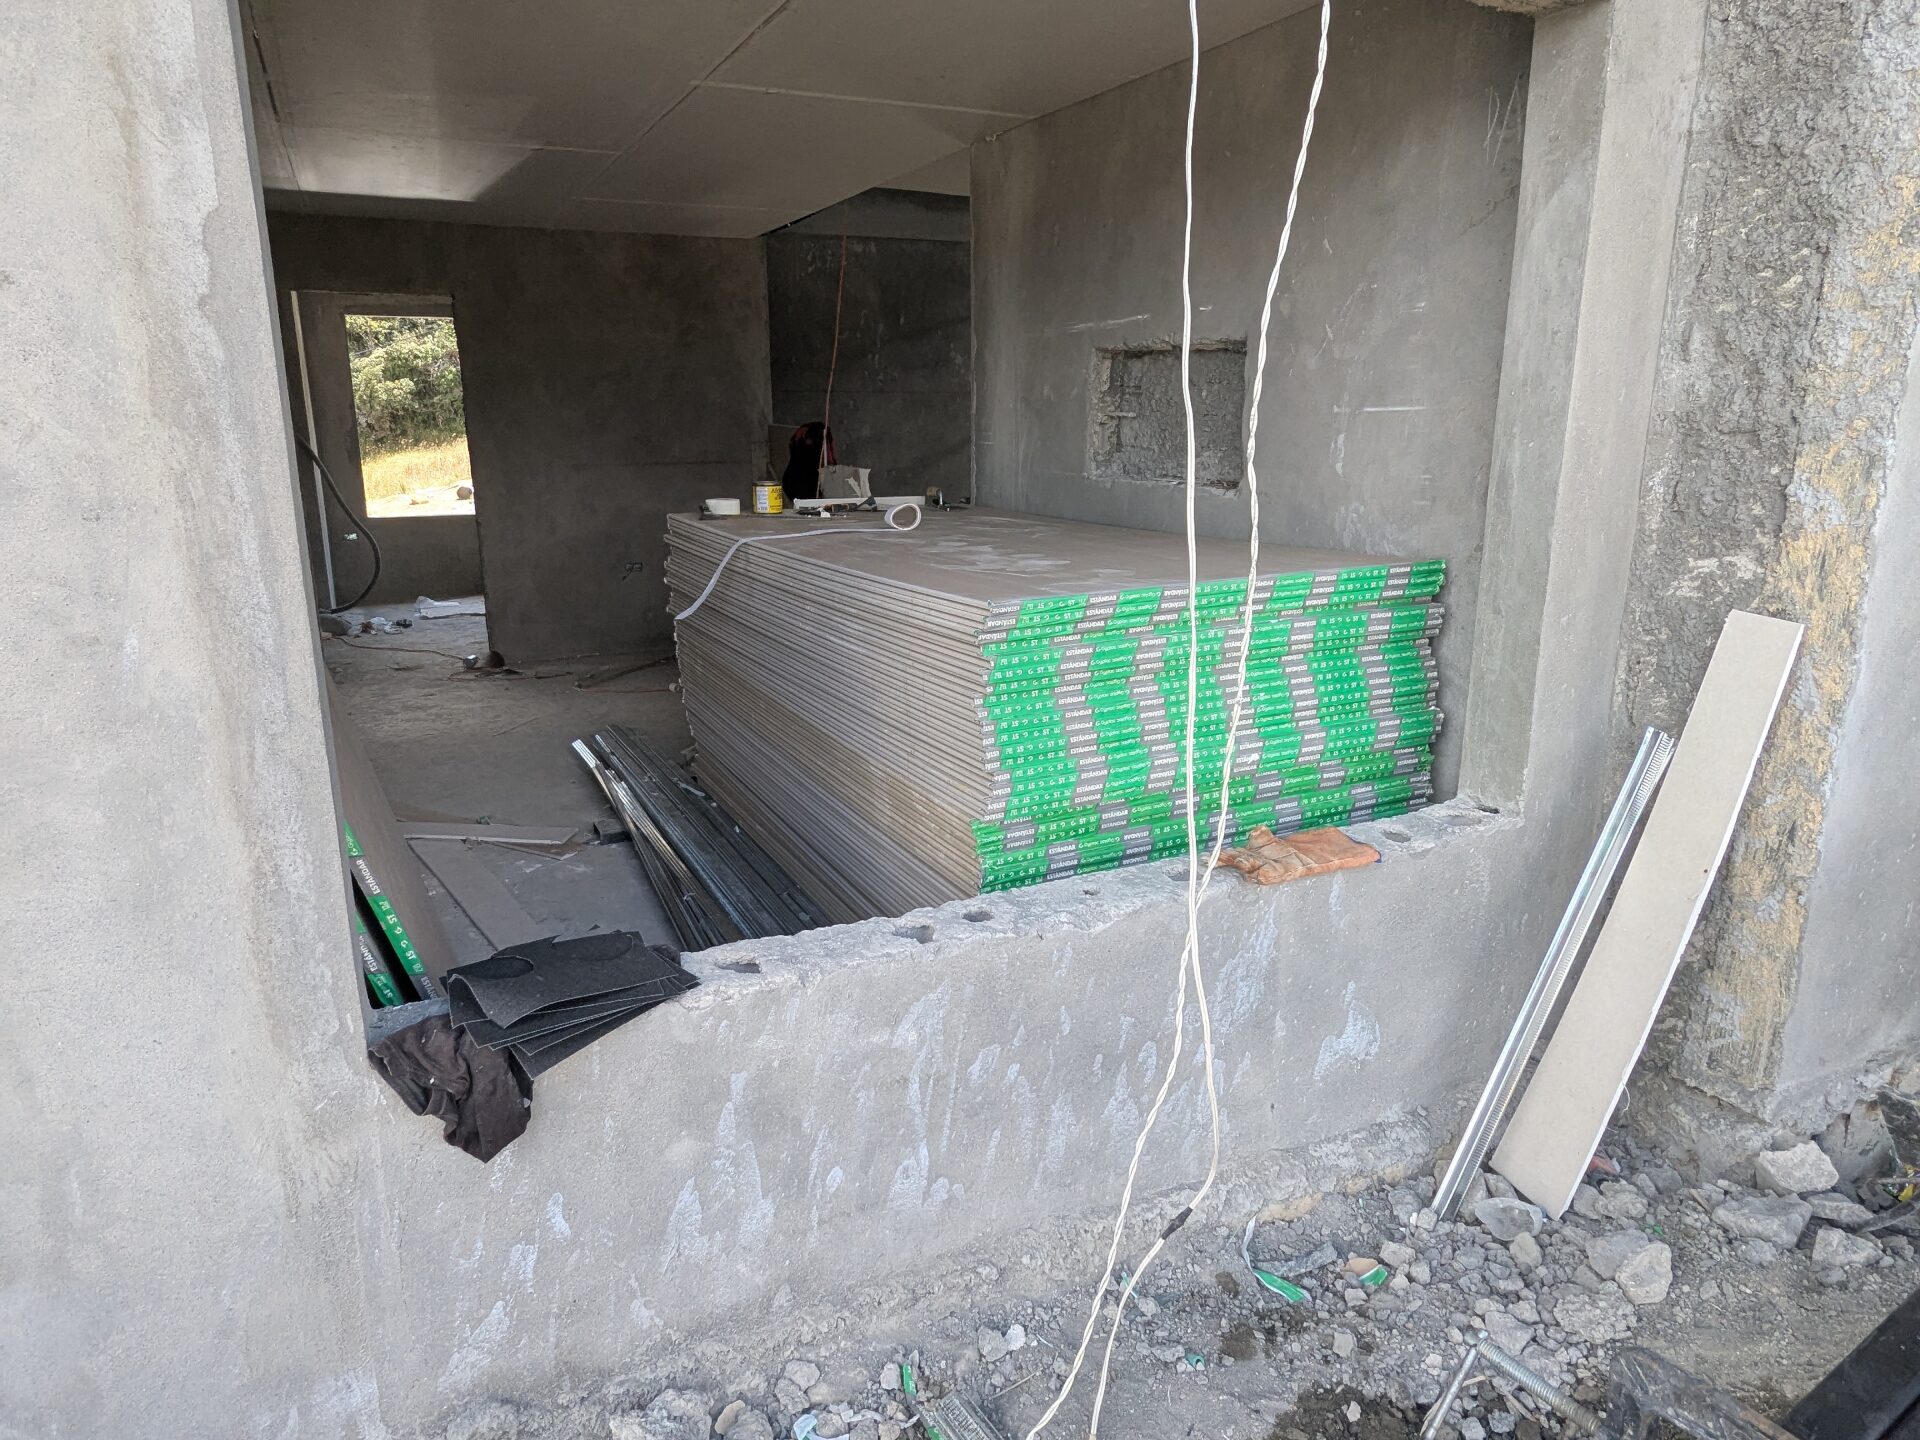
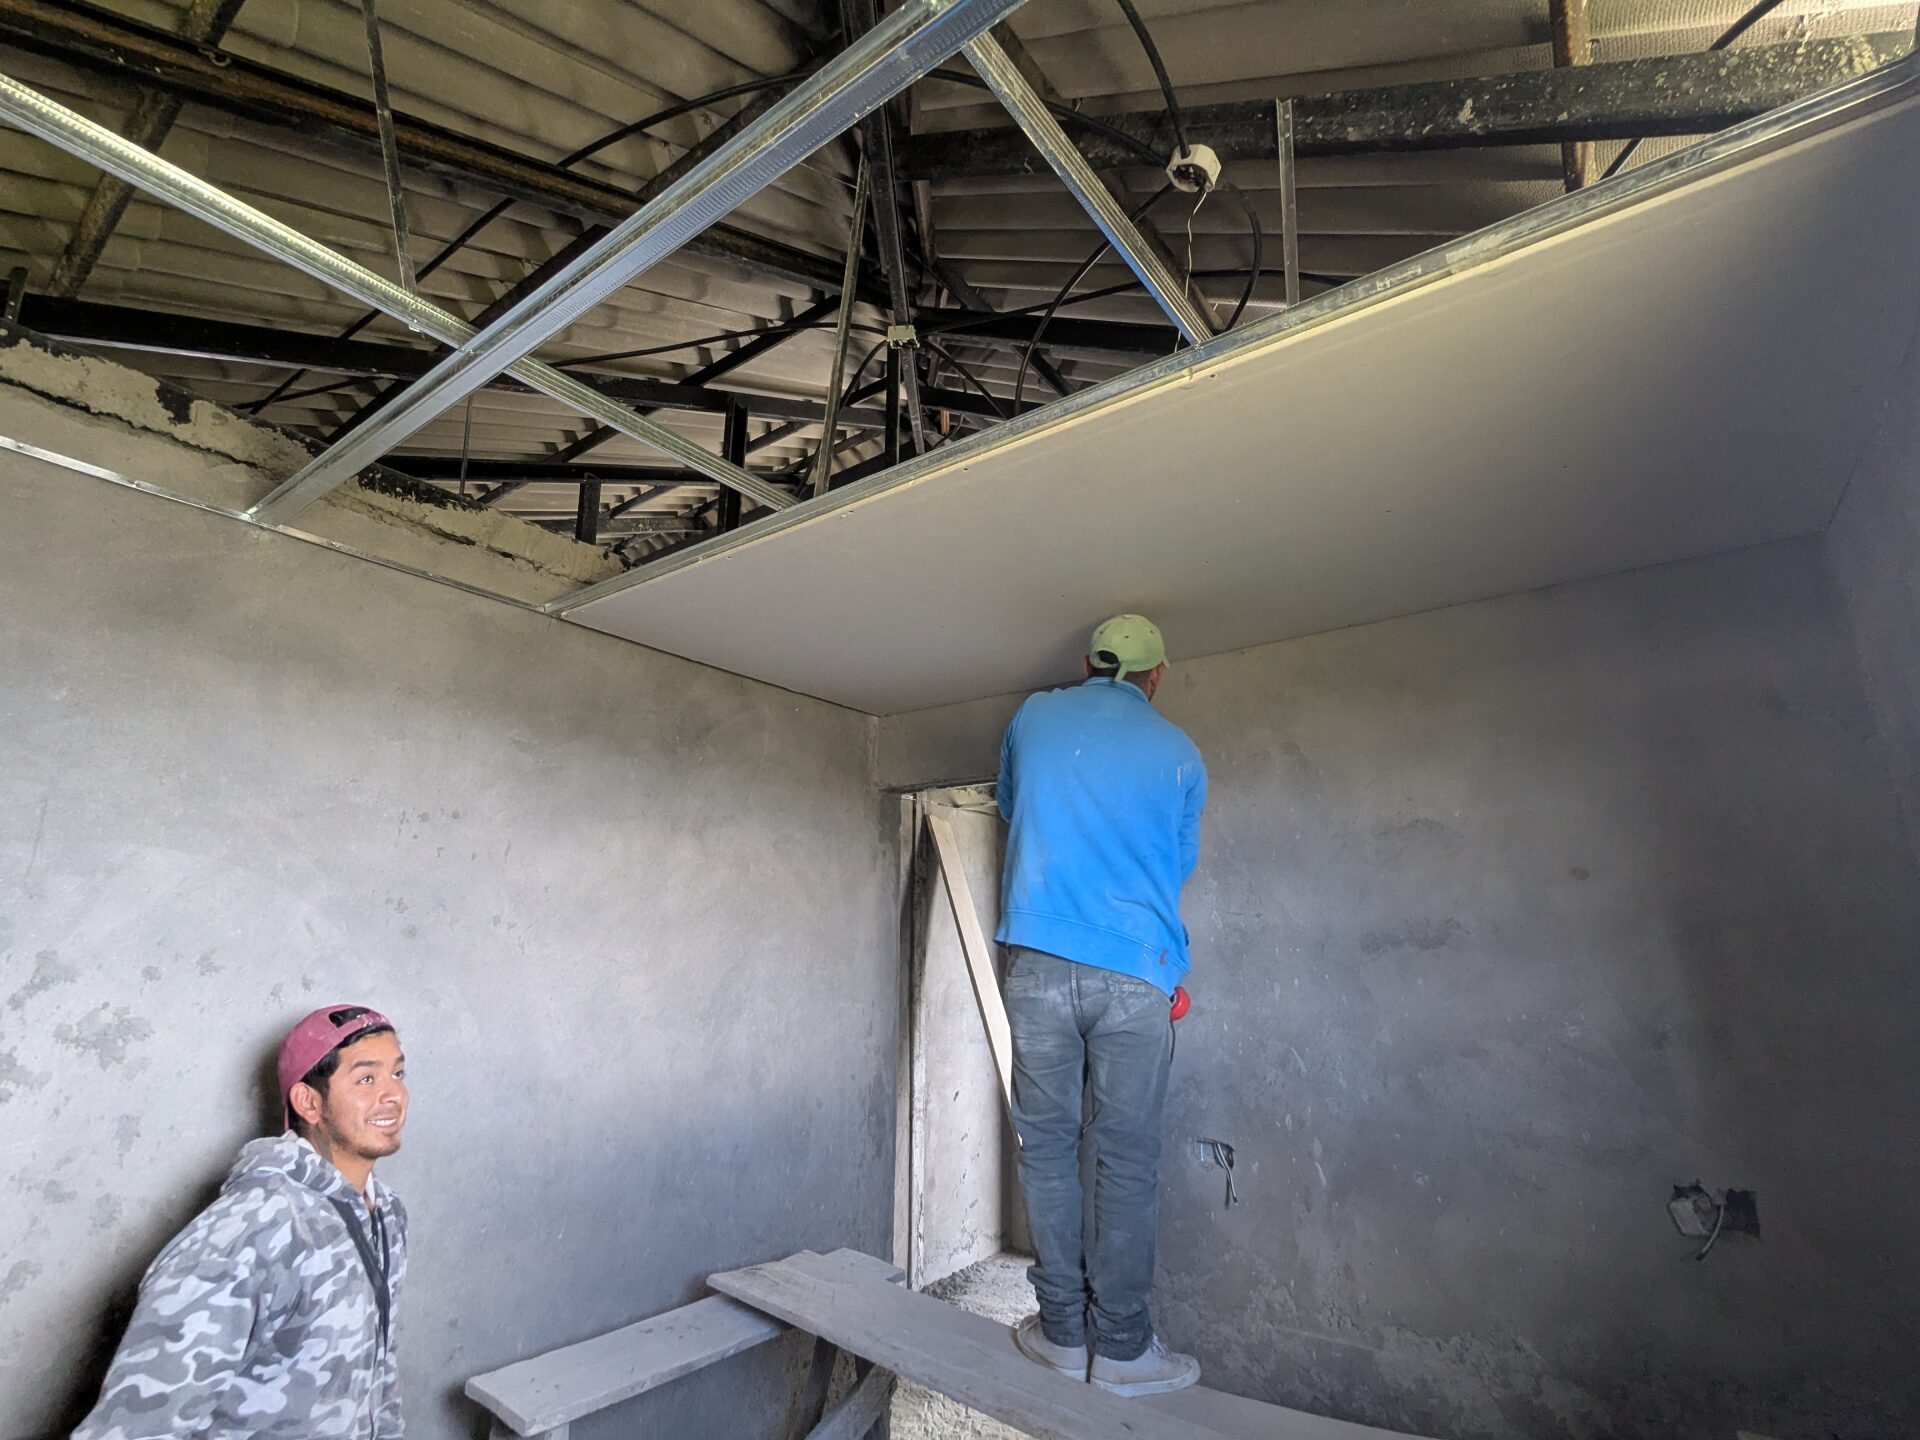
The final update on the house is drywall. All of the panels arrived earlier this week, and a couple of the workers have been busy installing them.
Installation begins with the aluminum support structure. First, a framing system is secured directly to the walls around the perimeter of the room. Next, metal furring is laid across the framing, creating the attachment points for the drywall. Once the furring is in place, additional reinforcement is added across the span. Vertical metal bracing ties into the existing steel framing of the house, ensuring the system can carry the weight of the drywall.
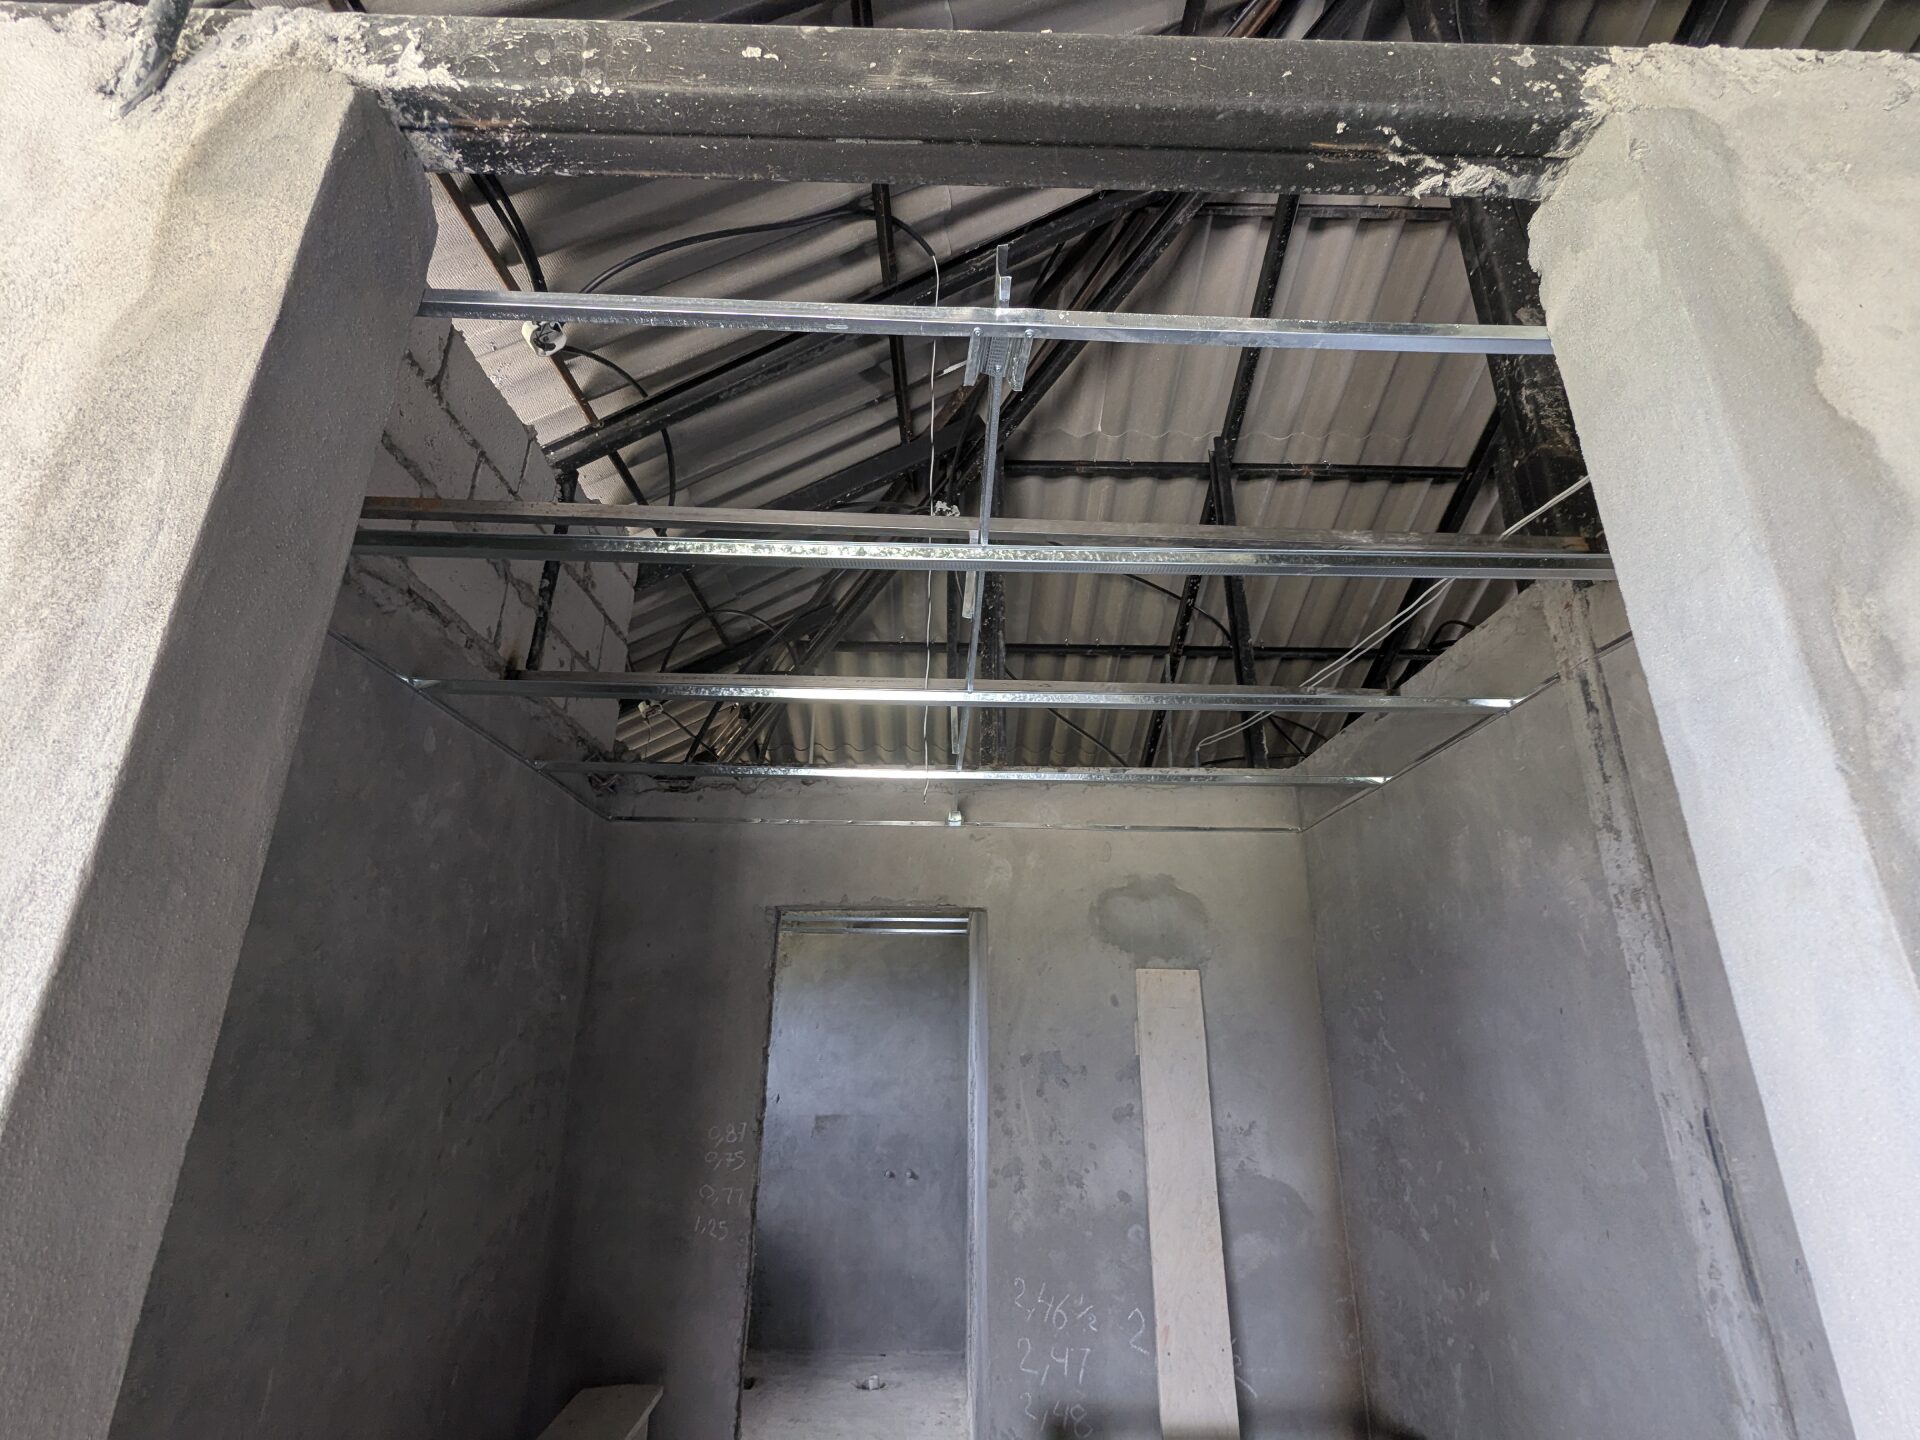
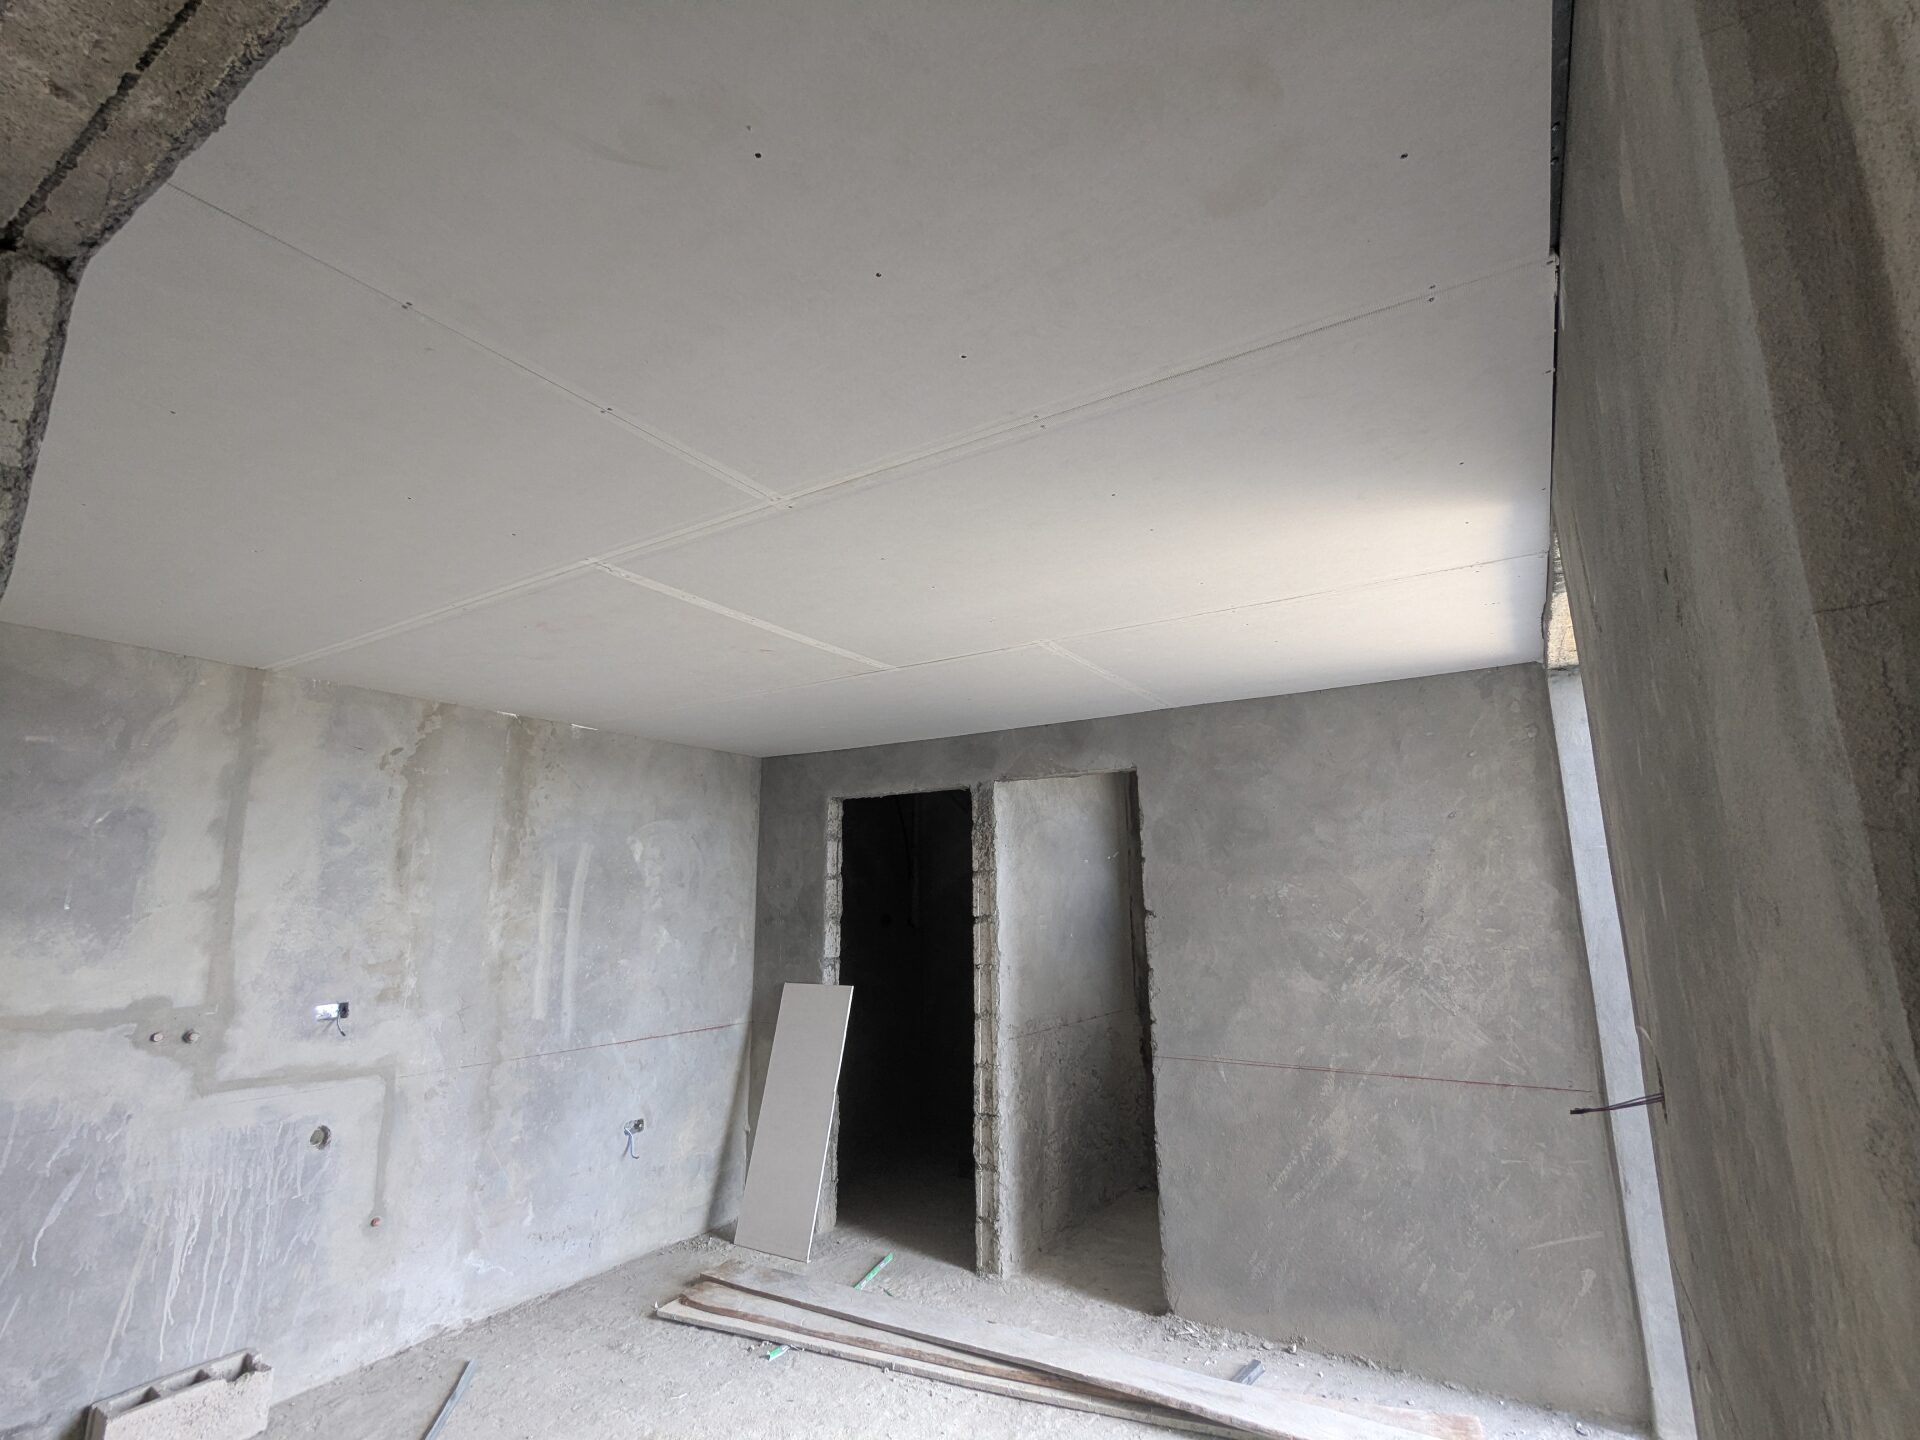
With the structure complete, the workers fasten the drywall sheets to the furring with screws.
And the result is dramatic! Once the drywall is in place, it instantly transforms the look and feel of each room.
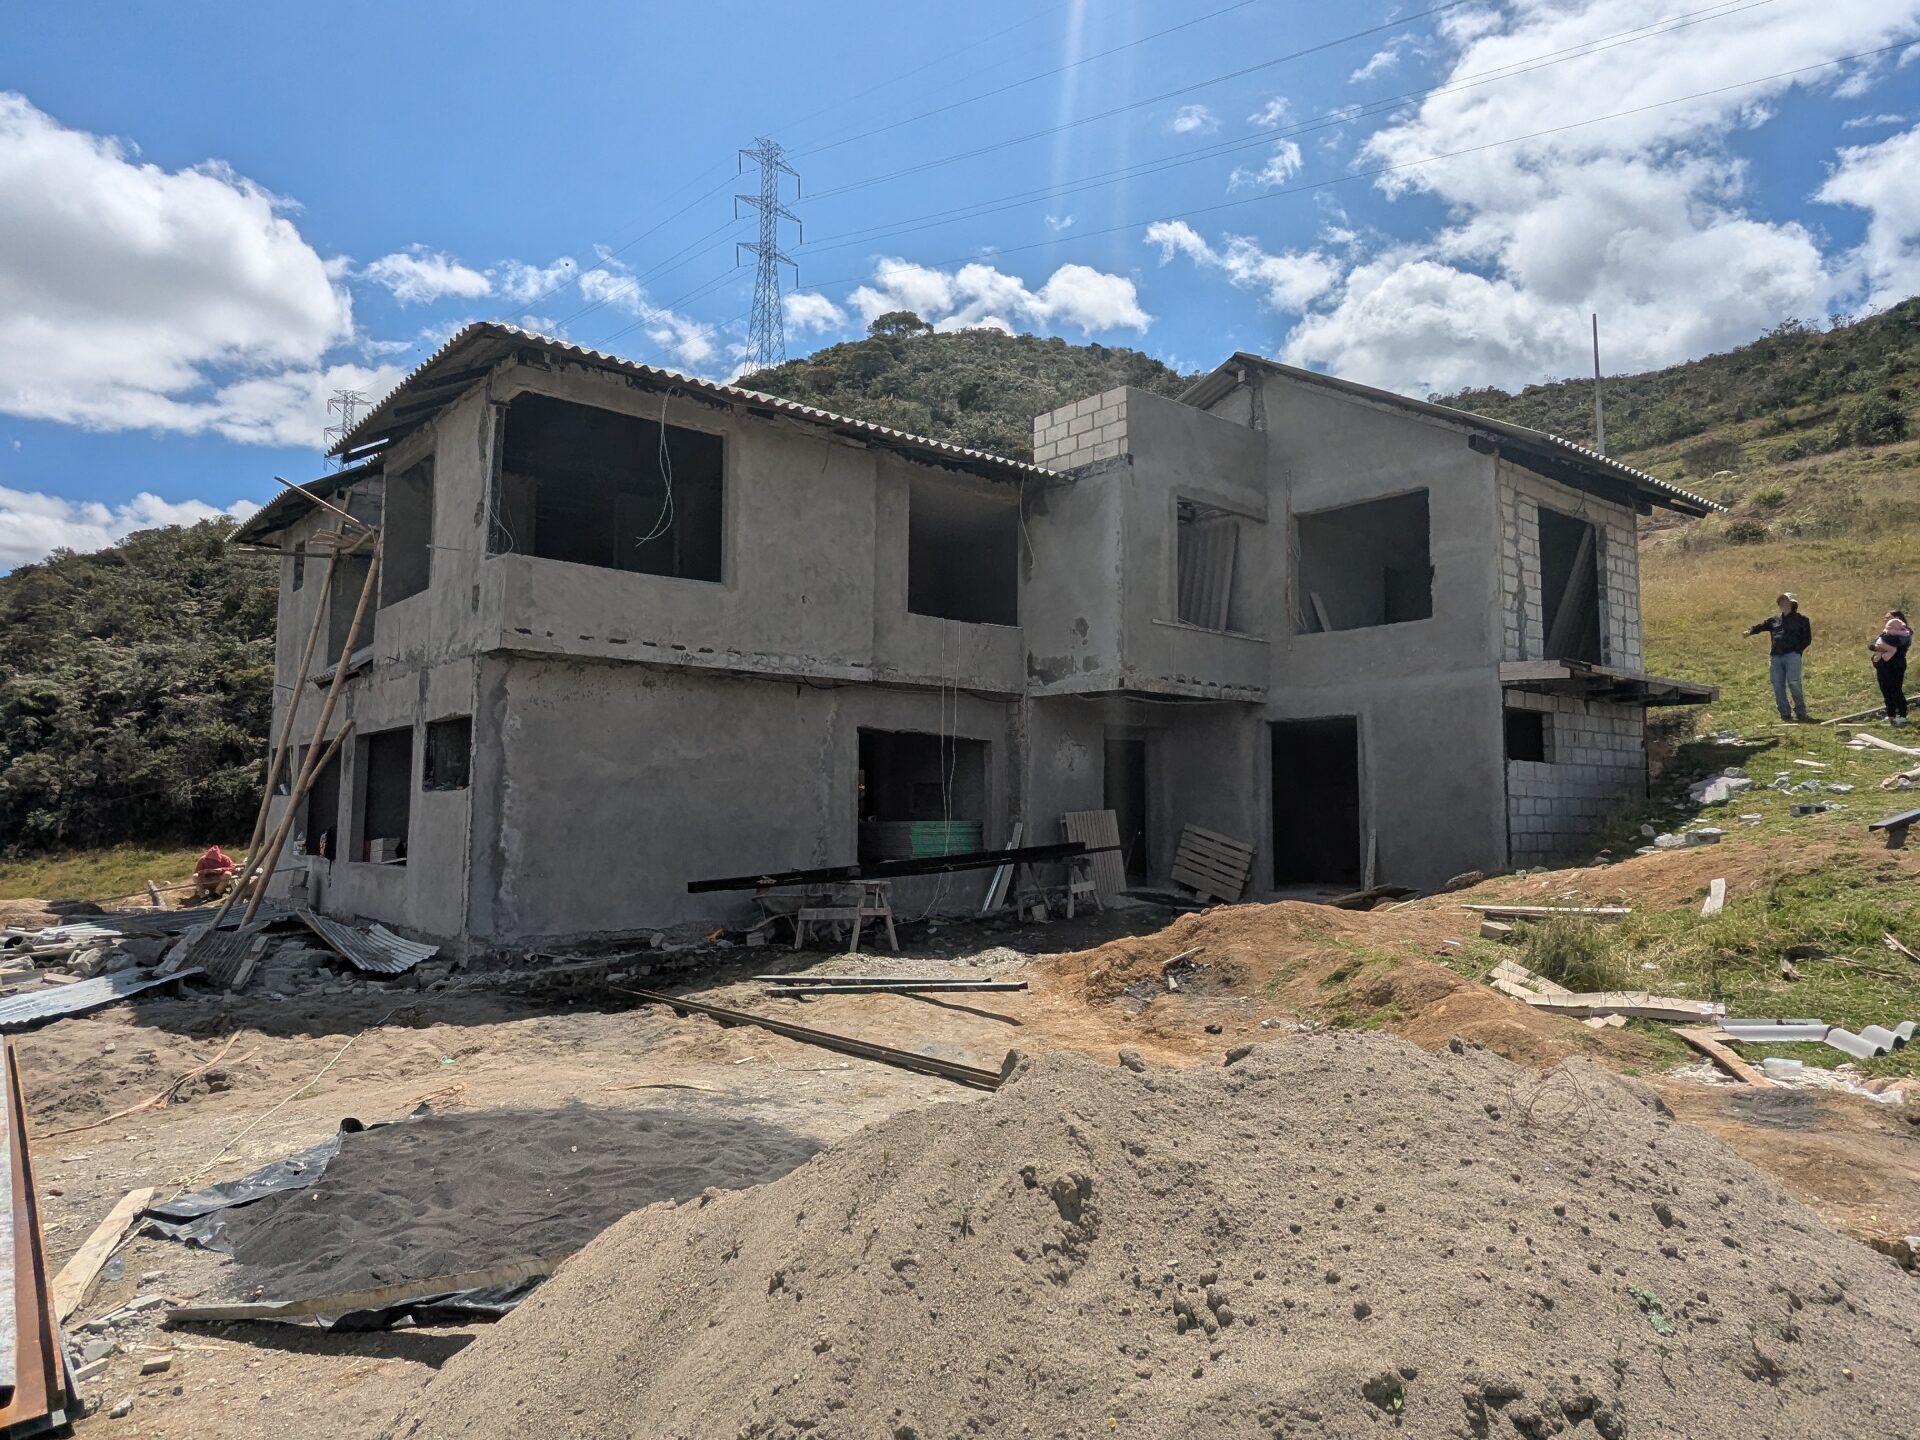
With this update complete, content will now shift towards the home’s finishing work. Of course, no post would be complete without an exterior shot, and a new detail at the roofline. Because of the second story’s shape, three separate roof lines were originally required for coverage. The smaller roof line in the middle disrupted the overall aesthetic, so Marco proposed a change. As you can see in the photo, the wall above the floating office has been extended vertically. This adjustment allows the roofing to be installed in a “V” formation, tying into the lower roof line while concealing it from view. The solution impressed us immediately and further confirmed that Marco was the right choice for this project!
0 Comments